
You pick up your drill for a small DIY project and realize all your wood bits are missing. The only ones left in your toolbox are shiny HSS bits meant for metal. The question pops up: Can you use these HSS drill bits for wood?
It’s a common situation for both beginners and hobbyists. HSS (High-Speed Steel) bits look strong and sharp, so it’s tempting to try them on wood. But while they can work, the outcome depends on how you use them — and how carefully you control heat and speed.
HSS bits are engineered for hard materials like steel and aluminum, where friction and temperature reach extreme levels. Wood, on the other hand, requires cleaner cuts and lower heat to avoid burning or splintering. Mixing the two materials takes a little know-how.
In this guide, we’ll explain whether you can use HSS drill bits for wood, how they perform, and what techniques ensure smooth, safe drilling. You’ll learn the real differences between bit types, best drilling speeds, and maintenance tricks to keep them sharp longer.
By the end, you’ll know when HSS bits are a smart choice for wood — and when switching to a proper wood bit will save time and deliver better results.
What Are HSS Drill Bits and How They Work
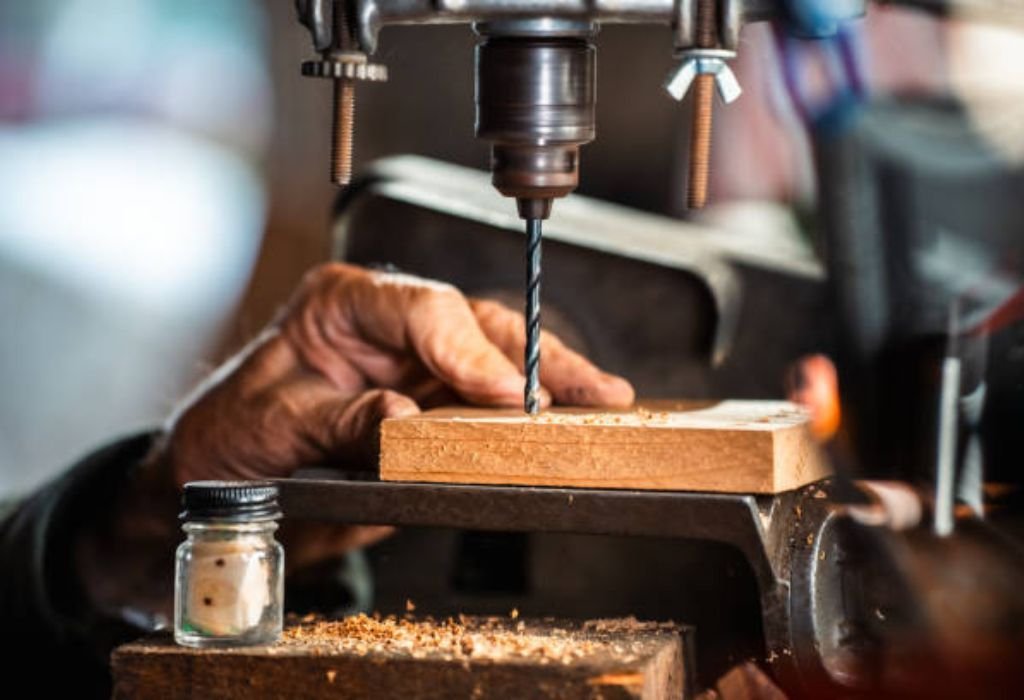
HSS stands for High-Speed Steel, a durable alloy containing chromium, tungsten, and vanadium. These elements give the bit hardness and heat resistance that ordinary carbon-steel bits lack. That’s why HSS bits can drill through metals without losing temper.
The cutting edges on an HSS bit stay sharp even under high rotational speeds. The steel composition resists softening up to about 600°C, which is critical when working with dense materials. For wood, this means the bit remains sharp for a long time if used correctly.
HSS bits typically feature a split-point tip that starts holes quickly without wandering. The flutes spiral upward to remove chips efficiently. This design ensures stability in hard materials but can also perform decently in softer materials like wood.
However, HSS bits lack the wide center spur and outer cutting lips of true wood bits. They cut by scraping rather than slicing fibers. This difference affects hole cleanliness and surface finish.
Because they are harder, HSS bits are also more brittle than standard wood bits. They can snap if forced sideways or used at incorrect speeds. Understanding these limits helps you apply them safely to wood projects.
In short, HSS bits are multi-purpose and tough, but their best performance comes with proper control, cooling, and patience when used on wood.
Can You Use HSS Drill Bits for Wood? The Truth
Yes, you can use HSS drill bits on wood, but it’s not always ideal. These bits will bore clean holes if the wood is dry, smooth, and you maintain low to medium speed. Problems occur mainly from overheating or splintering near the exit point.
When used carefully, HSS bits perform well in both softwood and hardwood. Their sharp edges penetrate fibers smoothly without dulling quickly. However, because they lack a center spur, they may wander slightly before cutting begins.
For accurate drilling, always mark your position with a center punch or nail. This guides the bit’s point and prevents slipping. Using clamps to stabilize the workpiece also improves control.
Avoid using HSS bits at very high speed when working with wood. Excessive friction generates heat that can burn the hole edges and darken the surface. Slow, steady drilling produces a cleaner finish.
You can use these bits for pilot holes, furniture assembly, and mixed-material projects. They’re excellent for jobs that alternate between metal brackets and wooden parts. That’s where their versatility shines most.
Still, for precision woodworking, dedicated wood bits remain superior. Their design minimizes tear-out and creates smooth, sharp edges ideal for joinery. HSS bits are best for general-purpose drilling rather than fine carpentry.
Differences Between Wood Bits and HSS Bits
Wood drill bits are designed with a center spur that acts like a guide pin. It helps start holes exactly where you need them and keeps the bit from wandering. HSS bits, however, rely on sharp edges and pressure alone.
The cutting edges on wood bits are wider and more aggressive. They slice wood fibers cleanly and produce smooth walls inside the hole. HSS bits scrape rather than slice, which can leave rougher interiors.
Chip removal is another key difference. Wood bits have deeper flutes that clear sawdust quickly. HSS flutes are narrower, meant for metal shavings, and can clog easily in soft wood.
Heat management also differs. Wood bits are used at lower speeds because wood burns easily. HSS bits tolerate more heat, but when used at high RPM on wood, they create scorch marks.
The overall shape of the tip determines hole quality. Wood bits produce clean entry and exit points with minimal tear-out. HSS bits can splinter the back surface if not backed by scrap wood.
Both types have their strengths. For quick general drilling, HSS bits are fine. For detailed, clean woodworking, specialized wood bits are always better.
How to Drill Wood with HSS Bits Step by Step
Step 1: Secure the workpiece.
Clamp the wood firmly on a stable surface. Loose materials cause wobbling and uneven holes. Always use a backing board under thin wood to prevent tear-out.
Step 2: Mark your drilling spot.
Use a center punch or nail to create a small dent. This keeps the bit from sliding across the surface. Accuracy at the start determines the entire hole quality.
Step 3: Select the right bit size.
HSS bits come in many diameters. Choose one slightly smaller than the final hole if precision is needed. For large holes, start with a pilot hole first.
Step 4: Adjust the speed.
Set your drill to low or medium speed. Too much RPM creates friction and burns. Hardwood requires slower speeds than softwood.
Step 5: Apply steady pressure.
Let the bit cut gradually. Pushing too hard overheats the edge and can cause smoking. Gentle pressure ensures smoother chip removal.
Step 6: Clean the hole and bit.
After drilling, withdraw the bit slowly while it’s still spinning. This clears sawdust from flutes. Wipe the bit clean before the next use.
Following these steps prevents overheating, splintering, and premature dullness of your HSS bits.
Advantages of Using HSS Bits on Wood
One major advantage is versatility. HSS bits handle multiple materials, saving time during mixed projects that include both wood and metal. You don’t need to change bits constantly.
HSS bits also stay sharper longer. Their hardened steel edge resists wear even after many holes. This makes them suitable for frequent DIY tasks where standard bits dull quickly.
Because HSS bits resist heat, they’re ideal for dense hardwoods. They cut through oak, maple, and walnut better than cheaper steel bits. Controlled speed keeps them performing smoothly.
Their durability means fewer replacements. A single HSS set can last for years if maintained properly. This makes them cost-effective for occasional woodworkers.
They’re also widely available and affordable. Most hardware stores carry complete sets with multiple sizes. This accessibility makes HSS bits a reliable backup when wood bits are missing.
Lastly, they deliver acceptable precision for general home improvement. Pilot holes, bracket mounts, and hinge installations are all easily handled with HSS bits.
Common Problems and How to Avoid Them
The most frequent problem is overheating. Wood burns at lower temperatures, and HSS bits retain heat. Always reduce speed and pause to cool the bit.
Another issue is splintering around the hole exit. To prevent this, place scrap wood underneath your workpiece. It supports fibers and prevents tear-out.
Bits can dull prematurely if used at high speed or with too much pressure. Check sharpness often and regrind dull edges when possible. A sharp bit cuts cleaner and lasts longer.
Sometimes the bit wanders on smooth wood surfaces. Starting with a pilot hole or indentation solves this easily. You can also tape the area to increase friction.
If you notice smoke or scorch marks, stop drilling immediately. Let both wood and bit cool before continuing. Burn marks ruin the finish and weaken glue adhesion later.
Flute clogging is another minor problem. Sawdust packs into narrow metal flutes and reduces cutting power. Periodically lift the bit out to clear debris.
By anticipating these issues, you can adjust speed, angle, and pressure for flawless results every time.
Best Practices for Smooth Drilling Results
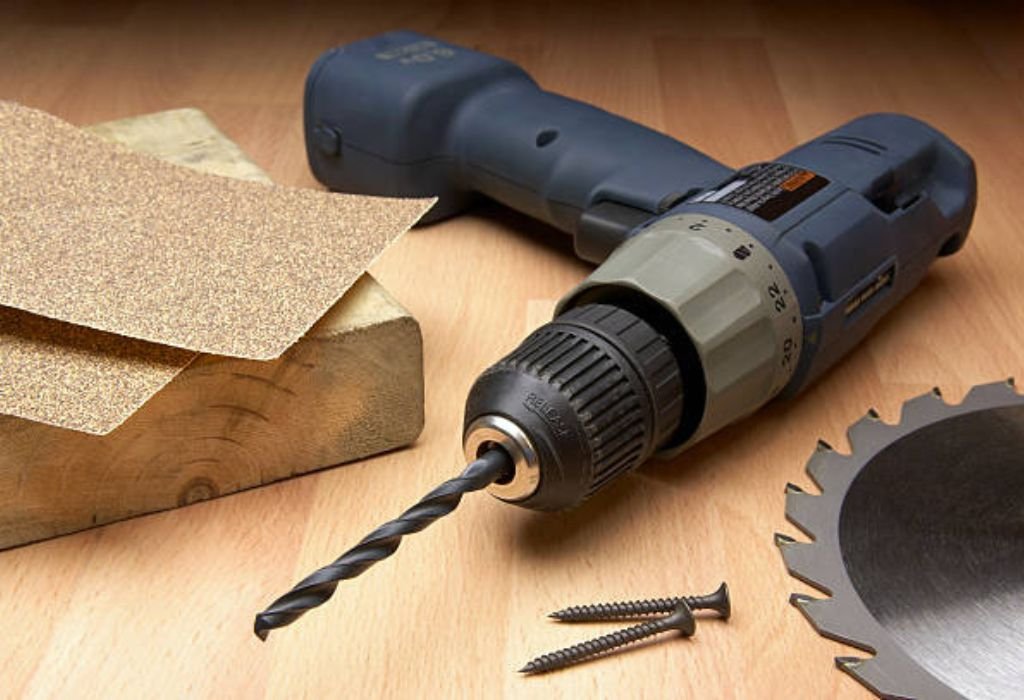
Always clamp your work securely before drilling. Vibration reduces precision and increases wear on the bit. Stability ensures straight, clean holes.
Use a backing board to support the exit side of the hole. This small trick prevents splintering and gives a professional finish.
Adjust your drill’s RPM based on wood type. Softer woods can handle faster speeds, while hardwoods require slower settings. Experiment on scrap pieces before final drilling.
Keep your HSS bits sharp. Regularly inspect tips for dullness or chips. Sharpen using a fine grinding wheel if needed.
Lubrication isn’t necessary for wood, but occasional cooling pauses prevent overheating. Remove chips often to maintain airflow around the bit.
Store bits in a dry case to prevent rust. Moisture corrodes steel and dulls cutting edges. A clean, organized bit set performs better and lasts longer.
Following these practices guarantees smoother holes, cleaner surfaces, and longer tool life.
Drilling Wood with HSS Bits: FAQs and Expert Answers
Can HSS bits replace wood bits completely?
Not entirely. HSS bits can drill wood effectively, but wood bits produce cleaner, splinter-free holes. Use wood bits for fine carpentry and HSS bits for general projects.
Why does my HSS bit burn the wood?
High speed or excessive pressure causes friction heat. Reduce RPM and clear chips frequently. Burn marks indicate you need slower drilling.
Are titanium or cobalt HSS bits better for wood?
Yes, coated versions run cooler and last longer. Titanium HSS bits glide smoothly through wood, while cobalt ones excel in dense hardwoods.
What speed should I use for soft vs hard wood?
For softwoods, 1500–2000 RPM is fine. For hardwoods, stay between 800–1200 RPM. Slow speeds produce smoother holes with less burning.
Can I use lubricant when drilling wood?
It’s unnecessary. Instead, clear chips and let air cool the bit naturally. Lubricants can stain or swell wood fibers.
Can I use HSS drill bits in a hand drill for wood?
Yes, you can. Just maintain a steady speed and avoid pushing too hard, as manual drills can overheat bits faster than power drills.
Do HSS bits work better in softwood or hardwood?
They work in both, but performance is smoother in softwood. For hardwoods like oak or maple, use lower RPMs to avoid burning.
How can I tell if my HSS bit is dull?
If the bit smokes, squeals, or leaves rough edges, it’s dull. Check for shiny or rounded tips — these need resharpening or replacement.
Can I use HSS bits for drilling plywood or MDF?
Yes, but go slow. These materials heat up quickly and dull bits faster because of glue layers and compressed fibers.
What is the best way to clean HSS bits after drilling wood?
Wipe them with a dry cloth to remove sawdust, then apply a light oil coat. This prevents rust and keeps edges sharp for longer use.
Conclusion
HSS drill bits are durable, sharp, and capable of drilling wood when used properly. They’re not just for metal — with the right speed and pressure, they handle most wood types easily.
However, their geometry differs from true wood bits, so you may see minor splintering or rough edges. For decorative or precision woodworking, specialized wood bits remain the better option.
Using HSS bits smartly saves time during mixed-material projects and provides good general-purpose performance. Keep speeds moderate, edges sharp, and holes backed with scrap wood for best results.
In short, yes, you can use HSS drill bits for wood, but treat them as a versatile alternative rather than a replacement. Controlled technique and patience turn them into a powerful ally in any DIY toolkit.

I’m John F. Nicholas, the founder, lead writer, and drill enthusiast behind 101drill.com. With years of hands-on experience in power tools and DIY projects, I created this platform to share practical knowledge, expert tips, and real-world insights to help others master the art of drilling.