
You’ve filled a hole or repaired a damaged spot in your wooden project, and now it looks perfectly smooth. Then a question pops into your mind — can you drill into wood putty? Will it hold, or will it crack apart under the drill?
This is a question many DIYers and carpenters face after using filler products. Wood putty is excellent for covering imperfections, but it doesn’t behave exactly like real wood. Drilling through it requires care, timing, and the right technique.
The answer depends on how the putty was applied, how long it has cured, and what type of filler you used. Drill too soon, and you’ll crumble the surface. Wait too long, and it may be too hard for smooth cutting.
In this guide, you’ll learn when and how to drill into wood putty, which tools to use, and what mistakes to avoid. By the end, you’ll be able to handle putty repairs with confidence and precision.
Understanding What Wood Putty Really Is
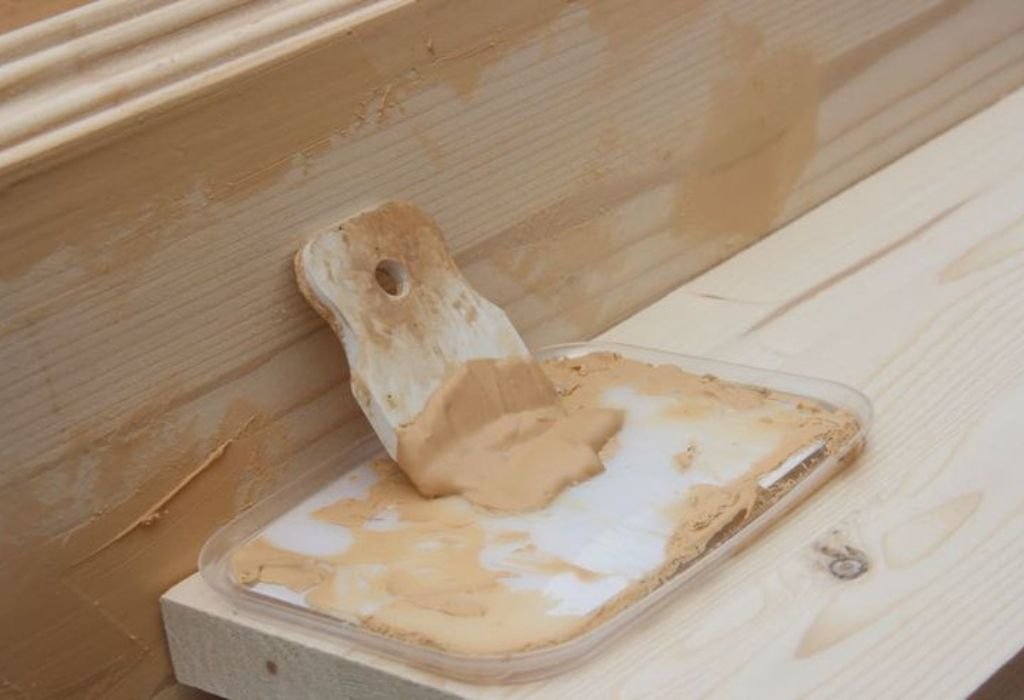
Wood putty is often confused with wood filler, but they are not the same. Putty is typically made from a combination of oils, solvents, and plasticizers designed for flexibility. Unlike filler, it doesn’t harden completely and remains slightly pliable after drying.
Because of this, wood putty is mainly for surface repair, not structural fixing. It’s perfect for covering nail holes, gaps, or cracks that won’t be under stress. However, it isn’t as strong as solid wood or epoxy-based filler.
When you drill into wood putty, you’re cutting into a soft, semi-elastic material. This can cause chipping or flaking if the bit moves too quickly. The goal is to use slow speed and minimal pressure for a clean, round hole.
Oil-based putties take longer to dry but stay flexible over time. Water-based versions dry faster but tend to be more brittle. Knowing which type you used determines how well it will handle drilling.
Wood putty is not meant to bear weight or hold screws. It’s primarily decorative, used for smoothing or blending repairs. Drilling through it requires extra caution to avoid breaking the surface around your repair area.
Understanding what’s under your drill bit helps you avoid costly mistakes and keep your project looking professional.
Can You Drill Into Wood Putty? The Short Answer
Yes, you can drill into wood putty — but only after it has dried completely and only in certain situations. The success depends on the product type, thickness, and purpose of the hole you’re drilling.
Drilling into wood putty is fine for light, non-structural holes, such as guide marks, pilot holes, or shallow mounts. However, it’s not ideal for screws or heavy hardware, as the material isn’t strong enough to hold them securely.
The key factor is curing time. Wet or semi-dry putty crumbles instantly when exposed to drill friction. Always let it harden fully according to the manufacturer’s directions — usually between 24 and 48 hours.
Drilling too fast can melt or tear the surface, especially with oil-based putties. Using slow speed, sharp bits, and steady pressure ensures a clean cut. If the hole begins to chip, stop immediately and smooth the edges before continuing.
When done correctly, you can create clean, small holes for touch-ups, dowels, or plugs. For load-bearing tasks, however, you’ll need stronger filler alternatives.
In short, drilling into wood putty is possible — but it requires patience and the right expectations.
When to Drill and When to Wait
Timing is crucial when working with wood putty. The biggest mistake beginners make is drilling too soon, before the surface has cured.
Always check your putty’s packaging for drying times. Most products need at least 24 hours, though thicker applications may take longer. In humid environments, it can take up to 48 hours or more.
Touch the surface lightly to test. If it feels soft, sticky, or cool to the touch, it’s still curing. Drilling now will pull the putty out of the hole rather than cutting through it.
Temperature also plays a role. Putty hardens best at room temperature with moderate humidity. Avoid working in cold or damp conditions, which can delay curing and weaken the surface.
If you’re unsure, waiting an extra day is always safer. Fully cured putty resists cracking and gives you more control during drilling.
Patience always leads to cleaner results and longer-lasting repairs.
Choosing the Right Drill Bit for Wood Putty
Your drill bit determines how well the hole turns out. Because wood putty is softer than real wood, sharp bits are essential to avoid dragging or tearing.
A brad-point bit works best for clean, precise holes. Its center tip stabilizes the drill and prevents it from slipping across the surface. This bit also cuts the edges cleanly before digging deeper, reducing the risk of chipping.
For larger holes, use a Forstner bit at slow speed. Its flat cutting edge handles soft materials smoothly without leaving jagged marks. Keep your pressure light to avoid heat buildup.
Avoid twist bits designed for metal, as they tend to bite too aggressively. They can crack or crumble the putty around the hole. Always stick to wood-specific bits for best results.
If you plan to drill multiple holes, clean your bit frequently. Wood putty can clog the flutes and slow down cutting. A soft cloth or small brush removes buildup quickly.
Choose high-quality bits with smooth edges. Dull or cheap bits create messy, uneven holes and can ruin the surface finish.
Good tools make drilling into putty feel effortless and controlled.
Best Drilling Techniques for Clean Holes
Drilling into wood putty isn’t about power — it’s about precision. Gentle handling gives you smoother results without damage.
Start by marking your spot with a center punch or a nail tip. This keeps the bit from wandering across the surface. Even a small indentation helps guide the drill straight.
Set your drill to low or medium speed. High-speed drilling creates too much friction, which can heat and soften the putty. Slow and steady ensures a smooth, even hole.
Apply gentle, consistent pressure. Don’t force the drill through. Let the bit do the cutting while you maintain balance and alignment.
If drilling deeper than a few millimeters, pause occasionally. Pull out the bit and clear away loose dust or debris. This prevents clogging and keeps the hole clean.
Use a backing board under the surface if possible. It supports the material and prevents the exit side from cracking. This is especially important for thinner putty repairs.
Once the hole is complete, brush away any dust before finishing or painting. Clean edges ensure your repair stays invisible once sealed.
Patience and control are the secrets to professional-looking results.
Drilling Into Different Types of Putty and Fillers
Not all wood repair products react the same way to drilling. Knowing the difference between putty, filler, and epoxy ensures you pick the right approach.
Wood putty is soft and flexible even after drying. It can handle small drill holes but may not hold screws or anchors securely. Use it for cosmetic drilling or pilot holes only.
Wood filler, by contrast, hardens completely and behaves more like real wood. Once dry, you can drill, sand, stain, and screw into it with excellent results. It’s better for structural fixes.
Epoxy filler is the strongest of all. It hardens into a rock-solid surface that can easily handle heavy drilling and fasteners. For permanent repairs, epoxy-based products are ideal.
Water-based putties dry faster but are more brittle. Use a sharp bit and very low speed to avoid cracking.
Oil-based putties are flexible but take longer to cure. Drilling too soon can cause the bit to slip or smear. Waiting an extra day ensures stability.
Understanding your filler type before drilling saves time, effort, and costly rework later.
Avoiding Common Mistakes When Drilling Putty
Drilling into putty may seem easy, but common errors can quickly ruin your finish. Avoid these mistakes for cleaner, more professional results.
The first mistake is drilling before the putty cures. Wet or semi-dry material won’t cut cleanly and often breaks apart. Always wait the full curing period.
Second, don’t use too much speed or pressure. High speed melts the surface, while heavy force cracks the edges. Keep your motion smooth and controlled.
Third, avoid dull or dirty drill bits. A clean, sharp bit cuts evenly and prevents tearing. Always wipe the bit between holes to remove residue.
Fourth, never try to drill large holes in pure putty. The material isn’t strong enough to handle heavy loads. For wide holes, reinforce the area with real wood or filler underneath.
Finally, don’t paint or stain immediately after drilling. Let the dust settle and clean the surface first. This ensures even coating and long-lasting color.
Avoiding these mistakes transforms your repair from fragile to flawless.
Safety and Tool Care Tips
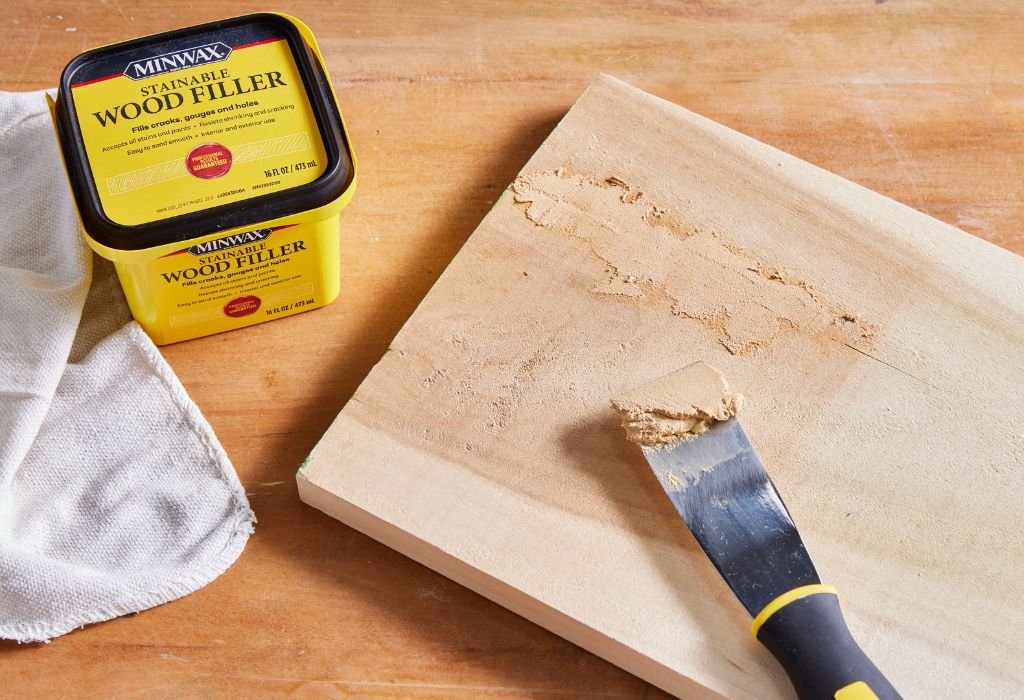
Wood putty may be harmless, but safe working habits always matter. Clean tools and stable setups make every project smoother.
Always wear eye protection when drilling. Small flakes or dust from putty can irritate your eyes. A simple pair of safety glasses prevents accidents.
Use a dust mask or respirator for sanding or drilling larger areas. Even fine putty dust can cause discomfort when inhaled. Keep your workspace ventilated.
Secure your workpiece firmly with clamps. Loose boards or panels can shift during drilling and ruin your repair. A stable base guarantees precision.
After drilling, clean the area and tools immediately. Residue left on bits can harden, dulling the metal. Wiping them with a soft cloth and mild cleaner prevents buildup.
Store putty containers tightly sealed to prevent drying out. Exposure to air thickens the material and reduces its flexibility. Proper storage ensures better performance for your next repair.
Safe, clean practices keep both your project and your tools in top condition.
Common Questions About Drilling Into Wood Putty
Can I drill into wood putty after it dries?
Yes, as long as it’s fully cured. Wait at least 24 to 48 hours for best results.
Will wood putty hold screws?
No. It’s not designed to bear weight or hold fasteners. For that, use wood filler or epoxy instead.
Can I drill large holes into wood putty?
Not recommended. Putty lacks the strength for big or deep holes. It’s best for shallow or decorative drilling.
What drill bit should I use for wood putty?
A sharp brad-point or Forstner bit works best. Avoid metal bits that cut too aggressively.
Why does the putty crumble when I drill it?
It’s likely still soft or your drill speed is too high. Let it cure fully and use low RPMs.
Can I sand or paint after drilling?
Yes. Just clean the surface of dust first. Sand lightly if needed before applying paint or stain.
What’s the difference between wood putty and wood filler?
Putty stays flexible for surface touch-ups, while filler hardens and can hold screws. Filler is better for structural work.
How can I fix cracks after drilling into putty?
Reapply a small amount of putty, smooth it out, and let it dry. Once cured, sand and finish again.
Is it safe to drill oil-based wood putty?
Yes, but drill slowly. Oil-based putty softens slightly under heat, so avoid high speed.
Can I drill epoxy putty the same way?
Epoxy putty is much harder. Use carbide bits and lower speed for clean results.
Conclusion
Drilling into wood putty is entirely possible — it just requires patience, timing, and control. Understanding how putty behaves helps you avoid cracks, chips, and wasted effort.
Always wait for full curing before starting, and use sharp, slow-moving drill bits. Avoid high pressure or heat, which can cause melting or crumbling. Gentle precision is the secret to clean holes.
Remember, wood putty is mainly for cosmetic fixes, not strength. For load-bearing or screw-holding needs, use wood filler or epoxy instead. Choosing the right product gives you long-lasting, professional-looking results.
With the right technique, you can drill into wood putty safely and confidently. Patience and care will always make your final project shine.

I’m John F. Nicholas, the founder, lead writer, and drill enthusiast behind 101drill.com. With years of hands-on experience in power tools and DIY projects, I created this platform to share practical knowledge, expert tips, and real-world insights to help others master the art of drilling.