
You finish repairing a hole or crack in a piece of furniture with wood filler, smooth it out perfectly, and let it dry. Then another thought hits you — Can I drill into wood filler afterward?
It’s a common question for DIYers and woodworkers. Whether you’re hanging hardware, attaching a screw, or reinforcing a repair, drilling into filler sounds convenient but risky. What if it cracks, crumbles, or doesn’t hold?
The answer depends on the type of wood filler, how well it’s cured, and how you drill into it. Done right, it’s absolutely possible. Done wrong, it can ruin your repair instantly.
This guide explains when and how to drill into wood filler safely, which types work best for strong anchoring, and what mistakes to avoid for clean, professional results.
Understanding What Wood Filler Is
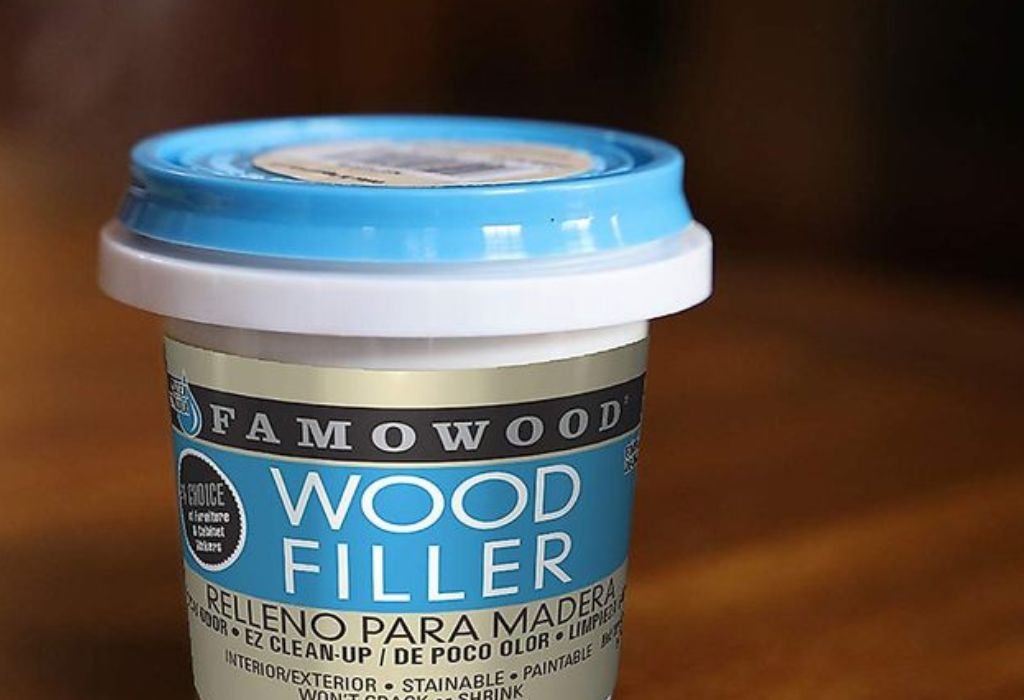
Wood filler is a compound made from wood fibers, binders, and resins. It’s designed to fill holes, cracks, and imperfections before sanding and finishing.
Unlike putty, which stays flexible, wood filler hardens completely once it cures. This makes it sandable, paintable, and — in many cases — drillable.
There are several types: water-based fillers, solvent-based fillers, and epoxy-based fillers. Each one behaves differently under pressure and tools.
Water-based fillers are great for small repairs but not strong enough for heavy drilling or screw-holding. Solvent-based fillers are denser and more durable once fully dry.
Epoxy fillers, made from resin and hardener, are the toughest option. They bond like rock and can handle drilling, screwing, and even light structural loads.
Knowing which kind of filler you used is the first step in deciding whether it’s safe to drill into it.
Can You Drill into Wood Filler
Yes, you can drill into wood filler — but only if it’s completely cured and the right type for the job.
Water-based fillers may look dry after a few hours, but inside, they’re often still soft. Drilling too early can cause the bit to tear or crumble the repair.
Solvent-based and epoxy fillers, on the other hand, become hard enough to accept drilling and even light screws. However, they don’t have the same strength as real wood fibers.
For shallow holes, like pilot holes for small screws, most fillers work fine once hardened. But for deep anchoring or load-bearing connections, epoxy filler is the only reliable choice.
If the repair area is large, drill slowly at low speed. High-speed drilling can create friction that weakens or cracks the surface.
So yes — drilling into wood filler is safe when the material is strong, dry, and handled with care.
How Long to Wait Before Drilling into Wood Filler
Patience is key. Even the best wood filler needs time to harden fully before it can handle drilling pressure.
Water-based fillers generally take 2–6 hours to dry on the surface but may need up to 24 hours to cure completely, especially in thick layers.
Solvent-based fillers usually dry faster on the surface and cure within 6–8 hours, but check the manufacturer’s label for exact timing.
Epoxy fillers, once mixed and applied, harden within 30–60 minutes but achieve full strength in about 24 hours.
Drilling too soon causes cracking, pulling, or uneven holes. Always test by pressing your fingernail into the filler — if it’s rock-solid and leaves no mark, it’s ready.
Remember, temperature and humidity affect drying. Cool, damp air slows the process dramatically.
It’s better to wait a little longer than to rush and ruin your repair.
Best Types of Wood Filler for Drilling
Not all fillers are created equal. If you plan to drill or screw into the repair, choose one made for high-strength applications.
Epoxy wood filler is the strongest and most reliable option. It bonds tightly to wood and hardens like plastic, ideal for heavy-duty repairs or outdoor projects.
Solvent-based wood fillers are also durable, suitable for medium-strength drilling tasks like attaching small hinges, handles, or hardware.
Water-based fillers are best for cosmetic repairs — filling nail holes, cracks, or surface dents — not for drilling or screwing.
For outdoor use, always choose exterior-grade fillers that resist moisture and temperature changes.
Brands like Bondo, Abatron, and Timbermate make excellent products that can be sanded, painted, and drilled safely after full curing.
Choosing the right filler saves you from redoing your repair later.
Tips for Drilling into Wood Filler Safely
Start with a sharp drill bit. Dull bits create extra friction and can chip the filler surface.
Use a low drill speed. High speeds heat the bit quickly and soften or crack the filler.
If you’re drilling a pilot hole for screws, select a bit slightly smaller than the screw diameter. This ensures a snug fit and prevents splitting.
Hold the drill perpendicular to the surface and apply steady, light pressure. Let the bit do the cutting — forcing it can break the filler.
Avoid drilling near edges of large filler patches; these are weaker and more likely to crumble.
If you’re uncertain, reinforce the area with a small wooden dowel before drilling. This adds strength and stability for hardware attachment.
Finally, after drilling, vacuum the dust and check the edges. If needed, apply a touch of filler to smooth imperfections.
Common Mistakes to Avoid When Drilling into Wood Filler
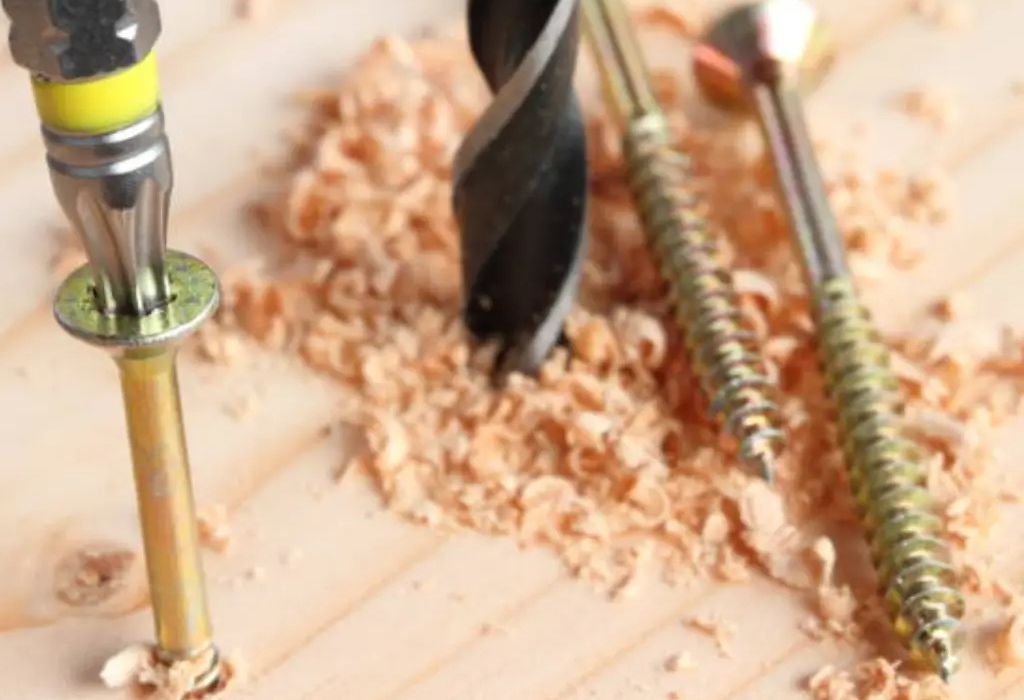
Many people make the same mistakes that lead to weak holes or cracked filler.
The most common one is drilling too soon before the filler cures completely. Even slightly soft filler will crumble under a bit.
Another mistake is using water-based filler for load-bearing areas. It’s great for cosmetics but too weak for screw anchoring.
Applying filler too thickly in one layer is also a problem. Deep applications dry unevenly and remain soft in the center.
Using high drill speed generates heat, which expands and cracks the filler. Always drill slowly and steadily.
Finally, failing to clean dust or debris from the hole reduces screw grip and stability.
Avoiding these small but crucial errors ensures your drilling job stays clean, precise, and durable.
Woodworking FAQs – Can You Drill into Wood Filler?
Can I drill into wood filler?
Yes, you can drill into it once it’s completely cured and strong enough.
Which type of wood filler is best for drilling?
Epoxy wood filler is the strongest and most suitable for drilling or screwing.
Can I screw into wood filler?
Yes, but only into epoxy or solvent-based fillers — water-based ones can crumble.
How long should I wait before drilling into wood filler?
Wait at least 24 hours for full curing before drilling.
Will drilling into filler cause it to crack?
It might if you drill too soon or too fast — go slowly and use low pressure.
Can I use regular wood filler for heavy-duty repairs?
No. Use epoxy-based filler for strong, load-bearing fixes.
Why does my wood filler crumble when I drill it?
It wasn’t cured completely or you used a soft water-based formula.
Can I drill into Bondo wood filler?
Yes. Once hardened, Bondo filler is strong enough for light drilling.
Is epoxy wood filler waterproof?
Yes, most epoxy fillers resist moisture and are suitable for outdoor use.
Can I paint or stain after drilling?
Yes, sand lightly and apply paint or stain once holes are clean.
Should I pre-drill before adding screws into filler?
Always. Pre-drilling reduces stress and prevents cracking.
Can wood filler hold screws permanently?
Not as well as real wood, but epoxy fillers can hold light hardware.
What’s the difference between wood filler and putty?
Filler hardens completely; putty stays flexible and is not drillable.
Can I drill through wood filler into real wood beneath?
Yes, that’s often the best way to strengthen the hold.
Is wood filler reusable once dried?
No. Always mix a fresh batch — old filler won’t bond properly.
Conclusion
Drilling into wood filler isn’t just possible — it’s practical when done correctly. The secret is choosing the right type of filler and letting it cure completely before picking up your drill.
Epoxy and solvent-based fillers offer strong, drillable repairs that can support small screws and light fixtures. Water-based ones, however, are better for aesthetic touch-ups only.
Always go slow, use sharp bits, and avoid forcing the drill. Patience and precision make the difference between a cracked repair and a clean, solid hole.
By following these steps, you can confidently drill into filler, attach hardware, and restore your project without worry.
A little care goes a long way — and now you know exactly how to make every repair last.

I’m John F. Nicholas, the founder, lead writer, and drill enthusiast behind 101drill.com. With years of hands-on experience in power tools and DIY projects, I created this platform to share practical knowledge, expert tips, and real-world insights to help others master the art of drilling.