
You’ve got your drill ready, your wood measured, and your #8 screws lined up. You start drilling and realize the screw either won’t grip properly or cracks the wood completely.
This simple mistake often comes from using the wrong drill bit size — a small detail that makes a big difference.
Choosing the correct drill bit for a #8 screw isn’t just about diameter. It’s about balance between screw grip, thread depth, and wood density. The right pilot hole helps the screw cut cleanly into the fibers without splitting the wood or stripping threads.
Whether you’re building furniture, framing a wall, or hanging shelves, using the right bit size ensures strength and precision.
In this guide, you’ll learn what size drill bit works best for #8 screws, how to adjust for softwood or hardwood, and what extra steps guarantee clean, professional results every time.
Understanding #8 Screws and Their Dimensions
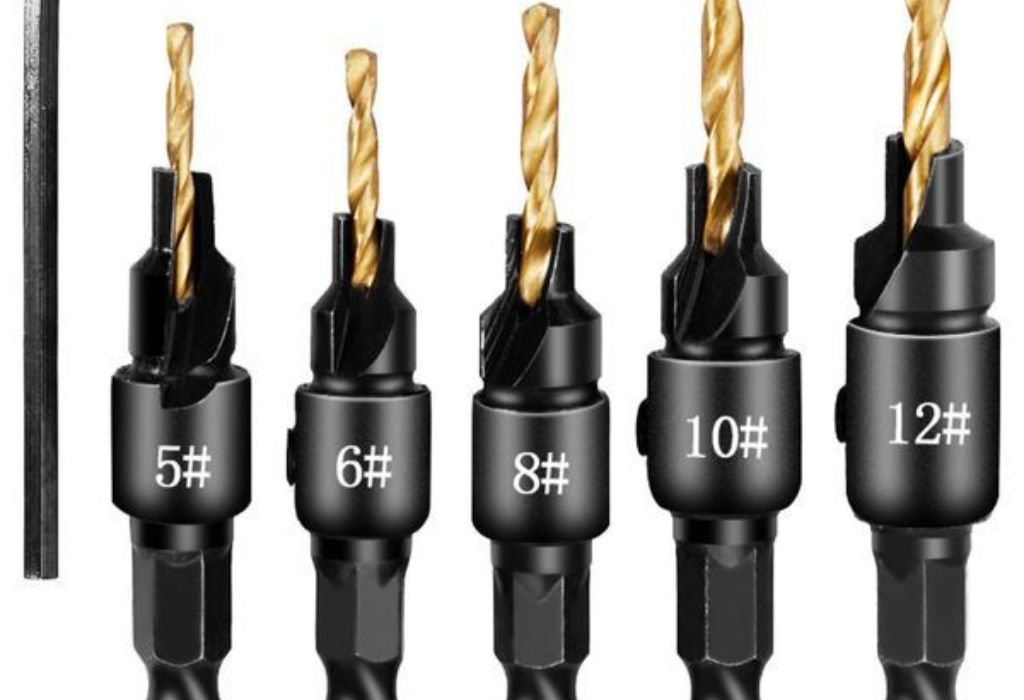
A #8 screw is one of the most commonly used fasteners in woodworking. It measures approximately 0.164 inches in diameter, with variations depending on whether it’s a wood screw, sheet metal screw, or drywall screw. The length can range from ½ inch to 3 inches or more, but the thickness stays consistent.
Screw threads are designed to bite into wood, pulling pieces tightly together. However, if you drive a #8 screw without a pilot hole, the threads may force the fibers apart, causing cracks or bulges around the entry point.
For proper grip, a pilot hole slightly smaller than the screw’s root diameter is essential. The root diameter is the inner core of the screw (excluding threads), and drilling for this size allows the threads to engage fully while avoiding stress on the wood.
When chosen correctly, your screw sinks cleanly, grips tightly, and resists pullout forces over time. It’s a small detail that separates amateur fastening from professional woodworking.
What Size Drill Bit to Use for a #8 Screw in Wood
For a #8 screw, the correct drill bit size depends on the wood’s hardness. The standard recommendation is:
- Softwood: use a 1/8-inch drill bit (0.125 in)
- Hardwood: use a 7/64-inch drill bit (0.109 in)
This ensures a tight fit that allows the screw threads to bite without splitting the wood. If you’re using long screws (over 2 inches), start with a slightly deeper pilot hole to prevent twisting or breaking.
Always drill straight, keeping your bit aligned with the screw’s intended path. For extra precision, mark the depth on your bit using painter’s tape — this prevents over-drilling.
Can I skip the pilot hole?
No, skipping it increases the risk of splitting the wood.
Why two different bit sizes?
Hardwoods resist compression, so they need a smaller hole to grip tightly.
Does the screw type matter?
Yes, tapered or coarse-thread screws need slightly larger holes.
Can I use a larger bit for soft pine?
Only slightly — too big and the screw won’t hold.
How deep should the pilot hole go?
At least 2/3 of the screw’s total length.
How to Drill a Perfect Pilot Hole
A perfect pilot hole ensures your screw drives smoothly and holds securely. Start by marking the hole location with a pencil or punch to prevent the drill bit from wandering. Align the drill vertically, then begin at a slow speed to maintain control.
Drill gradually until you reach the required depth, using painter’s tape as a visual stop. In harder woods, back the bit out occasionally to clear sawdust and reduce heat buildup. This keeps your hole clean and prevents burning or dulling the bit.
Once drilled, check the fit by gently inserting the screw. It should enter with moderate resistance but not force. For long screws, you can widen the top 1/4 inch slightly (called a clearance hole) so the screw head sits flush.
If you’re using countersunk screws, use a countersink bit to bevel the opening. This prevents the head from splintering the wood surface when tightened.
Pilot holes aren’t just preparation — they’re precision. Taking a few extra seconds ensures a stronger, cleaner final result.
Adjusting for Wood Type and Density
Not all wood behaves the same. Softwoods like pine and cedar compress easily, while hardwoods like oak or maple resist penetration. That’s why bit size adjustments are critical for a secure, non-damaging fit.
For softwood, a 1/8-inch bit leaves enough material for the threads to grip deeply. In dense hardwood, a smaller 7/64-inch bit reduces splitting risk while still maintaining hold strength. For exotic woods or laminated panels, always drill test holes first — fiber direction and glue layers affect resistance.
Temperature and humidity can also change how wood reacts. Dry wood cracks more easily, while damp wood swells, tightening the screw prematurely.
When unsure, start small and test-fit the screw. If resistance is too high, slightly increase the bit size by 1/64 inch. It’s always easier to widen a hole than repair a split board.
Can I use a universal size for all woods?
Not recommended — different densities need slight adjustment.
Why does hardwood split more easily?
It lacks flexibility and has tightly packed fibers.
Can lubricating screws help?
Yes, applying wax or soap reduces friction while driving.
What if the screw head strips?
It means your pilot hole was too small or the bit dull.
Should I pre-drill end grain wood?
Always — end grain splits more easily than face grain.
Countersinking and Depth Control Tips
Countersinking creates a professional finish and helps the screw sit flush with or below the wood’s surface. To do this, use a countersink bit slightly larger than the screw head.
Start drilling the pilot hole as usual, then switch to the countersink bit for a shallow cone around the hole opening. This prevents surface cracking when tightening the screw and makes sanding or finishing easier later.
Depth control is equally important. Overdrilling weakens the hold, while shallow holes cause splitting as the screw forces its way in. Mark the correct depth using tape or a stop collar to maintain consistency across multiple holes.
For visible surfaces like furniture or cabinets, fill countersunk holes with wood filler after installation. Sand smooth for a flawless appearance before staining or painting.
Common Mistakes When Drilling for #8 Screws
Even experienced woodworkers make small mistakes that cause cracks or poor fastening. The most common issue is using the wrong bit size — either too small, which splits wood, or too large, which weakens grip.
Another error is drilling too fast. High RPMs generate heat that burns wood and dulls bits. Slow, steady drilling produces cleaner holes with sharp edges.
Skipping the pilot hole is another major cause of splitting, especially near board edges. Always drill at least 2/3 the screw length.
Also avoid drilling at an angle unless intentionally required. Angled entry weakens the joint and causes uneven tension across threads.
Lastly, failing to clear sawdust or skipping lubrication in hardwood increases friction and heat, shortening both bit and screw lifespan.
Attention to these details keeps your projects tight, durable, and professional-looking.
Safety Tips for Drilling Screws into Wood
Safety begins with preparation. Always wear eye protection to shield against flying chips, especially when drilling hardwoods or treated lumber. Splinters can travel fast and unpredictably.
Secure your wood piece firmly with clamps to prevent movement. A shifting board can cause the drill to slip and damage both material and hands. Keep both hands steady on the drill handle for full control.
Avoid loose clothing or jewelry that might catch in moving parts. When drilling multiple holes, pause occasionally to clear sawdust — buildup can obscure your markings and cause misalignment.
Keep bits sharp and clean to reduce the risk of overheating. Dull bits require extra force and are more likely to snap. Work in a well-lit space and use steady, moderate pressure.
When switching bits, unplug or turn off your drill before touching the chuck. Safety habits not only prevent injury but also ensure smoother, more accurate drilling every time.
Conclusion
Using the correct drill bit for a #8 screw may seem like a minor step, but it’s what separates a rough job from a professional one. The right bit size ensures clean penetration, perfect grip, and long-lasting strength in any wood type.
By understanding screw diameter, wood density, and pilot hole sizing, you’ll prevent cracks, stripped threads, and weak joints. The rule is simple — measure carefully, drill slowly, and always test before committing.
With good technique, the result is smooth driving, secure hold, and a flawless finish that lasts for years. A little attention before drilling saves time, materials, and frustration later — proving that precision truly builds perfection.

I’m John F. Nicholas, the founder, lead writer, and drill enthusiast behind 101drill.com. With years of hands-on experience in power tools and DIY projects, I created this platform to share practical knowledge, expert tips, and real-world insights to help others master the art of drilling.